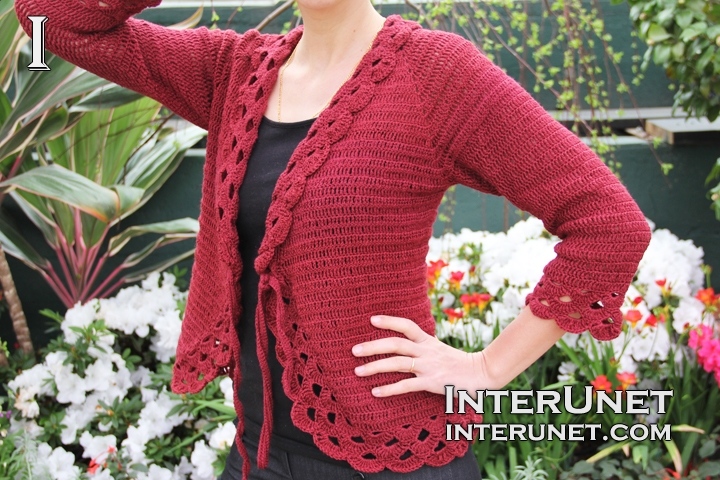
Yarn - Premier yarns Deborah Norville Serenity Sock Weight (color: Burgundy) / super fine 1 / 1.76 oz (50 g) / 230 yards (210 m) / about 7 balls needed
Hooks - D/3 – 3.25 mm & F/5 – 3.75 mm or other size hooks needed for the gauge
Gauge - About 22 trc sts go into 4 inches (10 centimeters)
Cardigan Size - US 6
Complexity - Intermediate
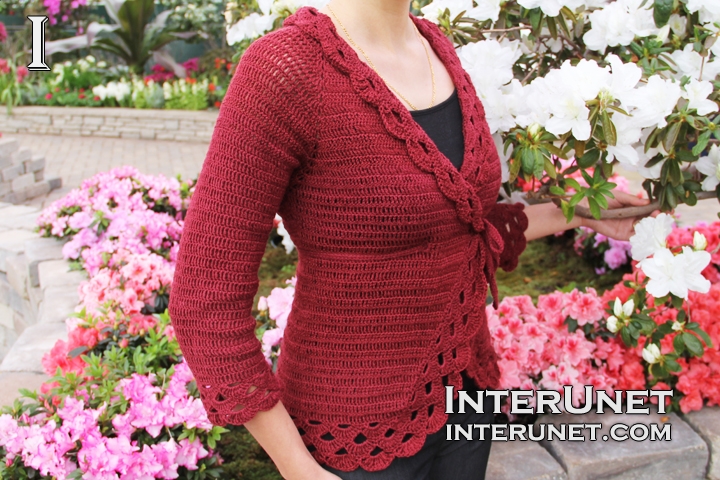
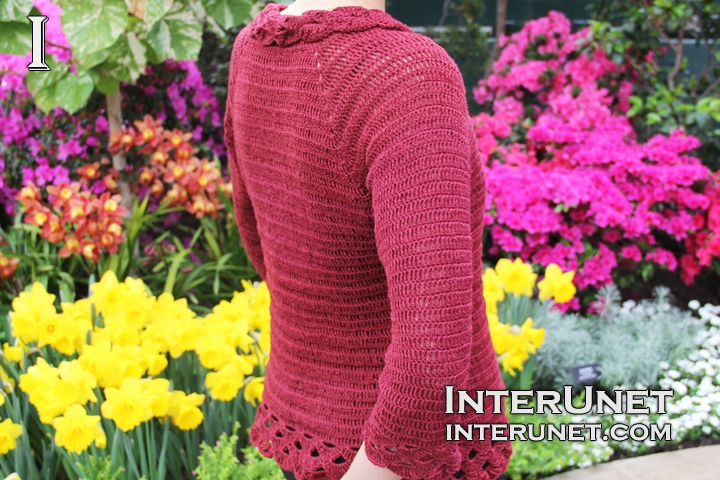
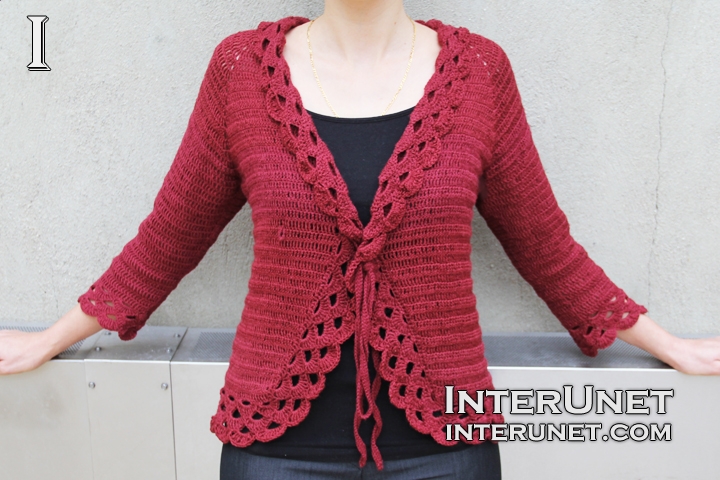
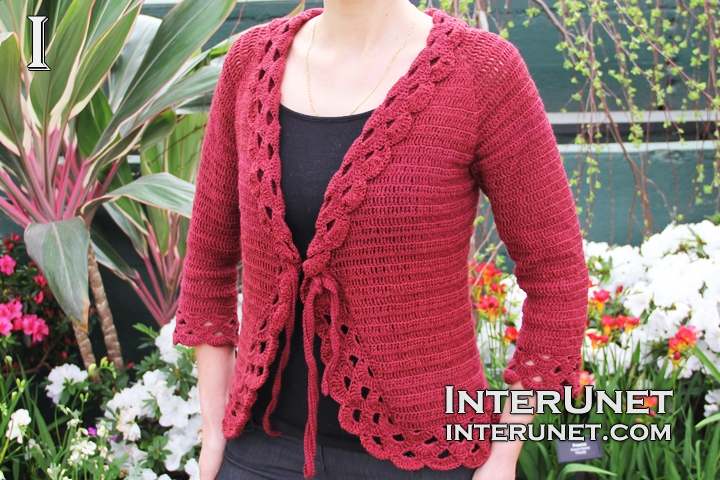
Women’s cardigan jacket with a tie crochet pattern – triple crochet stitch with borders
Part 1 in the video
Step 1
Crochet the cardigan from the top to bottom.
Make a foundation chain of 60 chains. I count all the loops including the loop on the hook.
Step 2
Increase
1st row (right side) – h4ch, trc1, Vst.1, trc14, Vst.1, trc22, Vst.1, trc14, Vst.1, trc1 + RC3
2nd row – h4ch, inc1, Corner1*, trc14, Corner1, trc22, Corner1, trc14, Corner1, inc1 + RC3
*Corner – (inc1 into a trc ch, Vst.1 under a ch, inc1 into a trc ch) above Vst of the previous row
3rd row – h4ch, inc1, [trc to Vst of prev.row, Corner1] x 4, trc to last 1 ch; inc1 + RC3
4 – 17 rows = 3rd row
Work as many rows as necessary until your front and back parts will be wide enough to your chest circumference accordingly.
Step 3
Join front and back parts together
18th row – h4ch, inc1, [trc to Vst of prev.row, inc1 into 1st trc ch of Vst, trc1 under a ch of Vst, skip chs to next Vst of prev.row (shoulder part), trc1 under a ch of Vst, inc1 into 2nd trc ch of Vst] x 2, trc to last 1 ch; inc1 + RC3
Step 4
Decrease chs underarms
19th row – h4ch, trc to back part (underarm), dec1, trc to 2nd front part (underarm), dec1, trc to end + RC3
20 – 26 rows = 19th row
Step 5
Decrease and increase chs
27th row – h4ch, trc to end + RC2
28th row – h4ch, trc to back part, inc1, trc to 2nd front part, inc1, trc to last 2 chs; dec1 + RC2
29th row – h4ch trc to last 2 chs; dec1 + RC2
Alternate the 28th and 29th rows until you crochet the desired length of the cardigan keeping in mind that you will have about 2 inches wide border.
Leave the body for now, you’ll work with that later.
Part 2 in the video
Step 6
Sleeves
Decrease
Attach the yarn underarm.
1st round – ch3, [trc 19, dec1] x 4 plus sl.st.1 into 4th chain
Work some trc under trc chs in order not to develop a hole.
2nd round – ch2, trc to end + sl.st.1 into 4th ch
3rd round – ch3, trc to end + sl.st.1 into 4th ch
Alternate 2nd and 3rd rounds until you work 17 rounds or have about 55 chains left.
Work rounds without decreasing chs
18th round – ch4, trc to end + sl.st.1 into 4th ch
19 – 23 rounds = 18th round
Step 7
Sleeve border
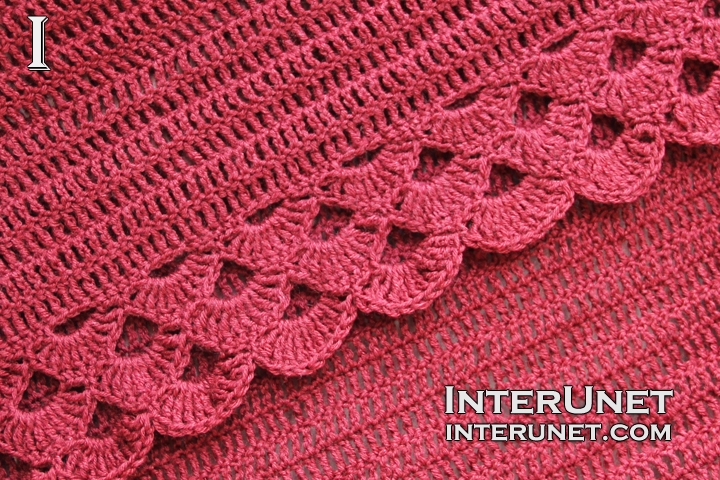
1st round – sc2, ch5, sk3, [sc5, ch5, sk3] x 6, sc3
2nd round – [trc 9 into an arch of 5chs, sk2, sc1] x 6, trc 9 into an arch of 5chs, sk2, sl.st.1 into the 1st sc ch of the round
3rd round – sl.st.2, [sc5, ch5, sk5] x 7, sl.st.1
4th round – sl.st.1, [sc1, trc 9 into an arch of 5chs, sk2] x 7, sl.st.1 into the 1st sc ch of the round
5th round = 3rd round
6th round – sl.st.1, [sc1, qc 10 into an arch of 5chs, sk2] x 7, sl.st.1 into the 1st sc ch of the round
Cut the yarn and secure it.
Step 8
Body border
Return to your last row of the body and work hdc to your 18th row (or the row where you joined the front and back parts together).
From 18th row to the 1st shoulder piece, work dc.
From the 1st shoulder piece to the end of the 2nd shoulder piece, work trc.
Then crochet as a mirror reflection to that.
From the end of the 2nd shoulder piece to end of the 18th row, work dc
From the end of the 18th row to the bottom of the cardigan, work hdc
Then repeat the 6 border rounds with some adjustments.
Work the 1st border round like in step 7, but where you’ll have corners, skip 1 ch instead of 3.
The 3rd and all other rounds crochet using a larger F size crochet hook to widen the garment.
Step 9
Ties
Short tie – ch82, h2ch, sc to end. Then use other loops of the initial foundation chain and work sc back.
Long tie – ch202, h2ch, sc to end. Then use other loops of the foundation ch and sc to end.
Step 10
Tie hole
Work reverse sc around 2 trcs on the same level where you’ve attached the short and long ties.
Abbreviations
ch – chain
dec – decrease
hdc – half double crochet
h4ch – insert a crochet hook into the 4th chain from your hook
inc – increase – trc2 into one ch
qc – quadruple crochet
RC – returning chain
trc – triple crochet
Vst. – V stitch – (trc1, ch1, trc1) into one ch
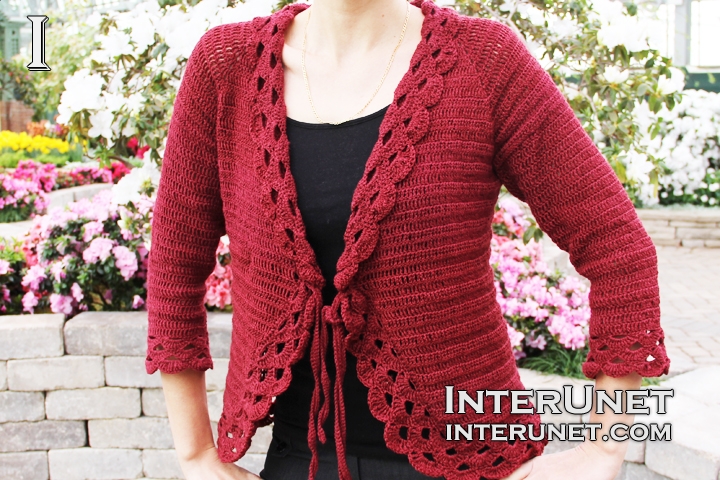
You can wear the cardigan sweater tied using a belt or as loose fitting jacket.
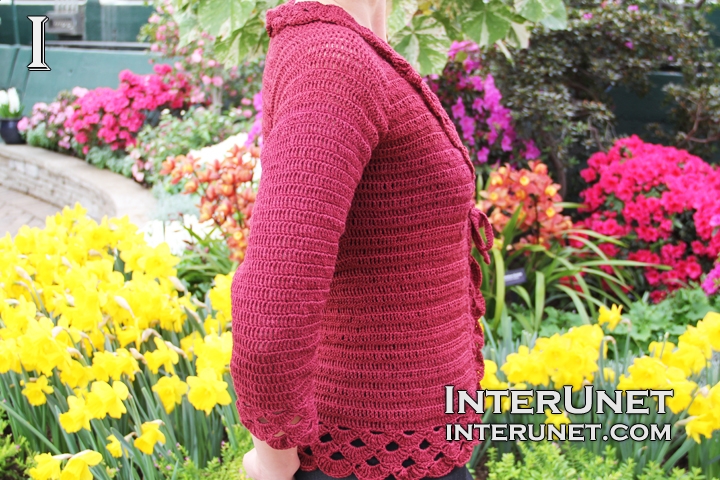
Crochet triple stitch cardigan jacket

Comments
Hi Sana,
Hi Sana,
I have finished the part 1. Part 2 starts with the sleeves. Can I complete my body part first like the borders and then start with the sleeves? That way I don't have to cut the yarn twice.
Hi saip,
Hi saip,
Yes, you may finish crocheting the body first. It won't make a difference.
Is there any special reason
Is there any special reason why you left the body and finished the sleeves before completing the borders of the body part?
It was easier to show how to
It was easier to show how to work borders on sleeves than on the body because they are narrow and do not have many chains. I had many small yarn balls, so I did not have to worry about cutting the yarn, and it was no difference for me whether to finish the body first or start sleeves.
Hello,
Hello,
Could you give an idea as to the sizing, for instance you start with 60 chains and its a US 6, how many chains would I need to up the size to a US 14?
Thank you.
Hi stefany,
Hi stefany,
The number of chains to start with depends on your gauge. Since it is a top-down crochet technique, you may also start with 60 chs (depending on your gauge), but work more increase rows until your 2 front and back parts will be wide enough to your chest circumference accordingly. In addition, for bigger sizes I would suggest to stop increasing chains on sleeve parts when they become wide enough to your upper arm circumference. But it depends on your preferences and how wide you want your sleeves to be. In other words, after your sleeve parts become wide enough, continue increasing chs only on your front and back parts, and work the same number of chs for each sleeve part. Happy crochet!
Hi. I hope you'll like it.
Hi. I hope you'll like it.
I love the top. Your work is
I love the top. Your work is very accurate and beautiful. Congratulations!
Hi Sana I found your amazing
Hi Sana I found your amazing videos on you tube that are so well done and easy to follow I made this cardigan for my friend it's quite large I'm not sure what I did wrong for it to be this big but it's her size and she loves it.
Hi Heather,
Hi Heather,
I'm very glad that you like my videos and made the cardigan for your friend. I believe your gauge was different from mine, and that's what cause the difference. I would love to see your work, if you decide to share it. You may upload the picture on this page. Thank you.
Pages