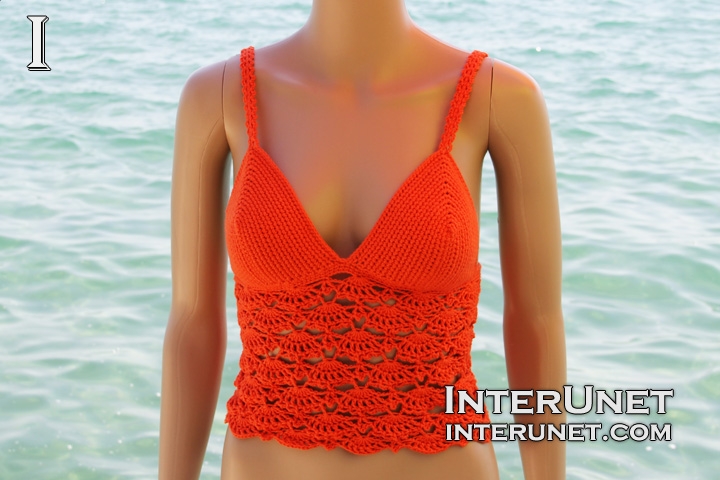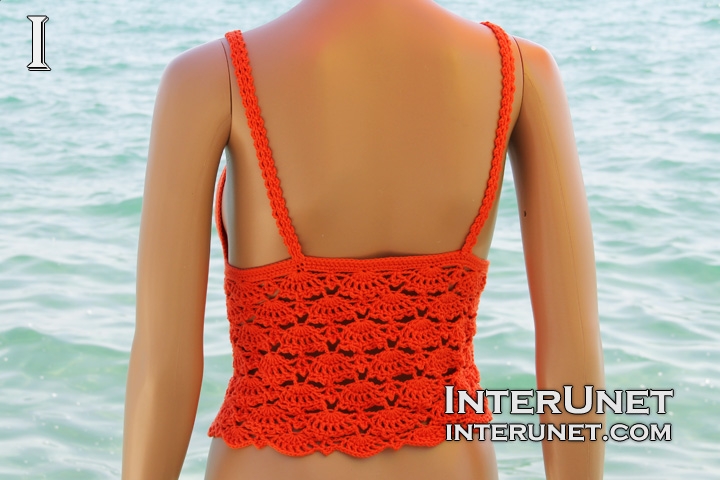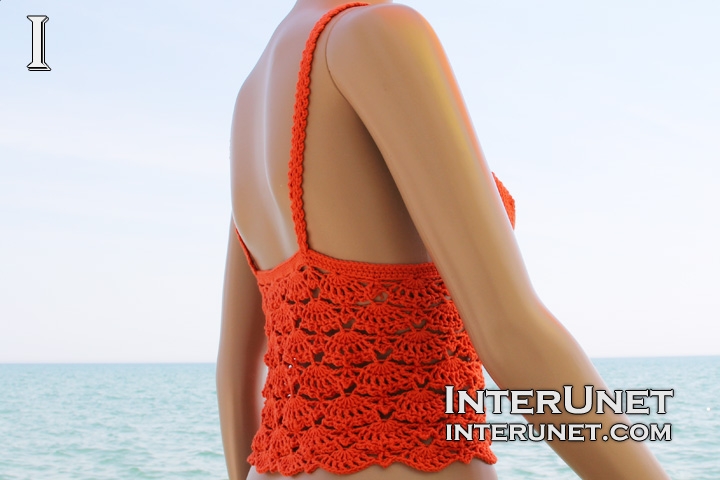
Yarn - Premier Yarns Cotton Fair (color – persimmon) / fine 2 / 317 yds (290 m) / about 1 ball needed
Hook - D/3 – 3.25 mm and E/4 – 3.50 mm or other size hooks needed for the gauge
Gauge - About 21 sc chains go into 4 inches (10 cm)
Size - US 6
Complexity - Intermediate/ Advanced beginner

Bikini top crochet pattern
Step-by-step crochet instructions.
Step 1
Cup/bra
Make a foundation chain of 19 chains
1st row (right side) – h2ch, sc16, sc3 into last ch. Do not turn your work to the wrong side; use other loops of the foundation chain. Work sc to end plus RC1. Then turn it to the wrong side.
2nd row (wrong side) and all even rows – h2ch, sc backwards to end + RC1
3rd row – h2ch, sc16, sc2 into ch, sc3 into ch, sc2 into ch, sc16 + RC1
5th row – h2ch, sc18, sc2 into ch, sc3 into ch, sc2 into ch, sc18 + RC1
7th row – h2ch, sc20, sc2 into ch, sc3 into ch, sc2 into ch, sc20 + RC1
9th row – h2ch, sc22, sc2 into ch, sc3 into ch, sc2 into ch, sc22 + RC1
11th row – h2ch, sc24, sc2 into ch, sc3 into ch, sc2 into ch, sc24 + RC1
13th row – h2ch, sc26, sc2 into ch, sc3 into ch, sc2 into ch, sc26 + RC1
15th row – h2ch, sc28, sc2 into ch, sc3 into ch, sc2 into ch, sc28 + RC1
16th row = 2nd row
Crochet the 2nd cup like the 1st one
Step 2
Body
At the end of the 16th row of the 1st cup, make 90 chains using a smaller size crochet hook. Then work sc32 at the bottom of the second cup. Lastly, work sc32 at the bottom of the 1st cup to have 154 chains in total or multiples of 14 chs. Crochet 2 or more sc rounds.
Step 3
Pattern
1st round – ch3, dc3 into sm.ch, [ch3, sk6, sc1, ch3, sk6, dc7 into sm.ch] to end; ch3, sk6, sc1, ch3, sk6, dc3 into sm.ch + sl.st.1 into 3rd ch from the starting point
2nd round – ch4, (dc1, ch1)x 2, dc1, [sk3, (dc1, picot1, dc1) into sm.ch, sk3, (dc1, ch1)x6, dc1] to end; sk3, (dc1, picot1, dc1) into sm.ch., sk3, (dc1, ch1)x 3 + sl.st.1 into 3rd ch
3rd round – sc1 under ch., (ch3, sk1, sc1 under ch.)x 2, [ch5, sc1 between 1st dc2 of an arch, (ch3, sk1, sc1 under ch.)x 5] to end; ch5, sc1 between 1st dc2 of the last arch, (ch3, sk1, sc under ch)x 2, ch1, dc1 into 1st ch of the round
4th round – [ch3, dc7 into the 3rd ch of the arch of 5chs, ch3, sc1 into the 2nd ch of a 3rd arch] to end; ch3, dc7 into the 3rd ch of the 5chs arch, ch3 + sl.st.1 into the 1st ch
5th round – ch3, [sk3, (dc1, ch1)x 6, dc1, sk3, (dc1, picot1, dc1) into sm.ch] to end; sk3, (dc1, ch1)x 6, dc1, sk3, dc1, picot1 + sl.st. into 3rd ch
6th round – sc1 under ch., [(ch3, sk1, sc1 under ch.)x 5, ch5, sc1 between 1st dc2 of an arch] to end; (ch3, sk1, sc1 under ch.)x 5, ch2, trc1 into 1st ch
7th round – ch3, dc3 into sm.ch, [ch3, sc1 into the 2nd ch of a 3rd arch, ch3, dc7 into the 3rd ch of the 5chs arch] to end; ch3, sc1 into the 2nd ch of a 3rd arch, ch3, dc3 into sm.ch. of initial dc3 + sl.st.1 into 3rd ch
Start the pattern from the 2nd round and work one more repeat using the same smaller size crochet hook. The following 12 rounds or as many as desired, crochet using a larger size hook to widen the garment.
Step 4
Straps
Make a foundation chain of about 80 chains. Join it with a slip stitch to a cup/bra. Then work slip stitches to end of the row and attach the strap to the back with a slip stitch. Work one more slip stitch to make it more secure.
Strap’s edge
Use other loops of the foundation chain – ch3, sk1, sl.st.1 to end.
On the other side of the strap, use back loops and repeat the process – ch3, sk1, sl.st.1 to end.
The stitches of a strap’s middle part should look like letter V.
Step 5
Edge
Work sc to end using the smaller size crochet hook. Cut the yarn and secure it.

Abbreviations
ch – chain
dc – double crochet
h2ch – insert a hook into a 2nd chain from your hook
picot – work 3 chs, sc1 into the 1st ch of the 3 initial chs
sc – single crochet
sc backwards – while working the wrong side of the fabric, insert a hook from the right side of the garment into a chain, grab the yarn, and pull it through. You should have 2 loops on the hook. Yarn over and draw the yarn through the 2 stitches.
sk – skip a base chain
sl.st. – slip stitch
sm.ch. – same chain
trc – triple crochet
Bikini top crochet pattern

Comments
Hi Sana, I love your bottom
Hi Sana, I love your bottom pattern and want to combine this one with the top part in your "tank flowy summer top" tutor. The only problem is here you do from top to bottom while in the other pattern you do on the reverse direction. Could you please show me what to do then?
Thank you so much :)
Hi Diane C.,
Hi Diane C.,
If I wanted to combine the two tutorials, I would make a foundation chain of 154 chs or multiples of 14 chs and start with the step 3 (http://interunet.com/crochet-bikini-top) to work the bottom part first, then I would attach the yarn to my initial foundation chain and use a second tutorial starting from the step 7 (http://interunet.com/crochet-a-tank-flowy-summer-top). It is very important to do a gauge swatch first to make sure that you will get the right size. Happy crochet!
Oh it turns out to be so easy
Oh it turns out to be so easy then. Thank you so much. Have a beautiful day ahead my dear :)
How many stitches for a size
How many stitches for a size 10 & 12 please, my two daughters would love this. Australian sizes.
Hi MiisMoogly,
Hi MiisMoogly,
I would suggest to practice the pattern (step 3) first to know your gauge, and then make an estimate of how many repeats it is necessary to work to their underbust circumferences accordingly. One repeat is 14 chs (step 2). So, the total number of chs including chs under cups should be dividable by 14. Happy crochet!