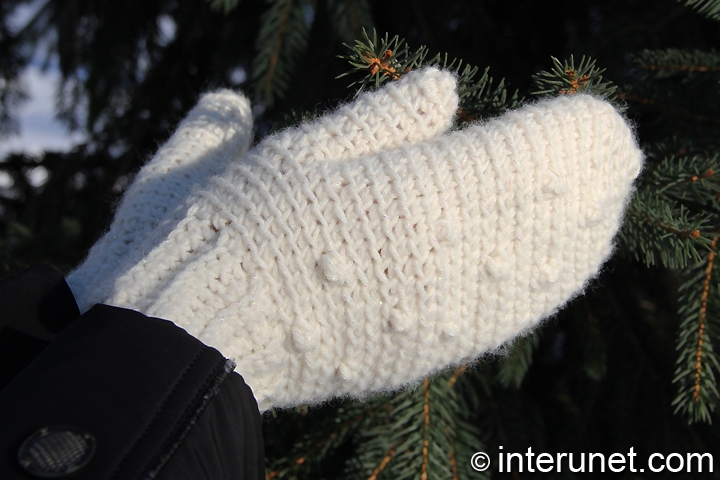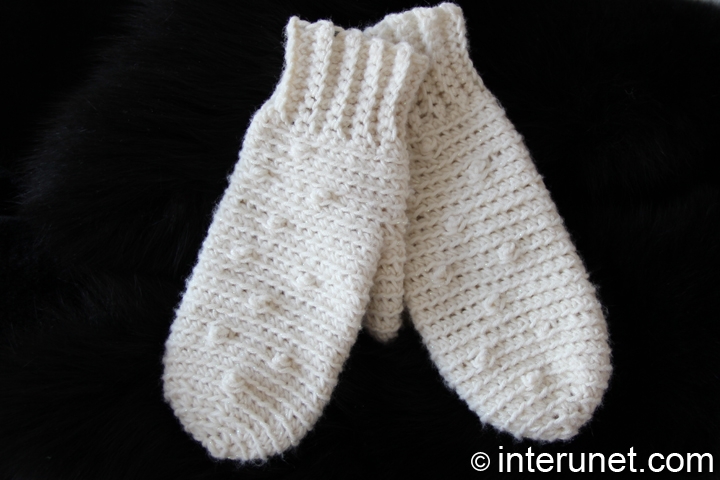
Yarn - Red Heart Shimmer / Medium 4 / Net Weight - 100 g / 280 yds (256 m) / less than 1 ball needed
Hook - US F (3.75 mm)
Gauge - about 16 chains in 4 inches
Hand Circumference - 8 in (20 cm)
Complexity - Easy

Mittens crochet pattern
Step-by-step crochet instructions
Step 1
Make a foundation chain of 10 chain stitches and work one returning chain.
Step 2
Ribbing:
1st row (right side) - from the second chain stitch of your hook, work single crochet to the end of the row.
At the very end, make one returning chain and turn.
2nd row - from the second chain stitch of your hook, work back loop only single crochet to end.
At the very end, create one returning stitch and turn.
3 - 19 rows = 2nd row.
20th row - continue back loop single crochet to end (do not work the returning chain).
Step 3
Connect both ends of the ribbing together.
Insert the hook into the first chain stitch of other end of the ribbing, grab the yarn, and pull it through both loops. Then insert your hook into the second stitch from the hook and into the second chain stitch of the other end of the ribbing, do yarn over, and pull it through 3 stitches. Repeat the process to end of the row.
To hide the seam, flip the ribbing to the wrong side (now it will be your right side).
Step 4
Main part:
1st round - work single crochet to end. By doing that, you should create 32 chain stitches in total.
Mark your starting point.
2nd round - work back loop single crochet for the first 7 stitches from the marker.
Bump - create two loops in two following stitches from the hook. After that, pull the yarn through the 1st loop, then through two loops, and again through two last loops resulting in one stitch remaining on the hook. Finally, insert your hook into the last base stitch, grab the yarn, and pull it through the stitch.
Continue back loop single crochet (BLSC) to end of the round and for two more rounds (3rd and 4th).
Step 5
5th round - [work BLSC for 4 stitches (sts) from the marker and then shape the bump again] repeat that one more time. Continue BLSC to end of the round.
6th round - work BLSC to last 7sts.
Thumb point - create 7 new chain stitches. Insert the hook into the last st. of the round, grab the yarn, and pull it through the stitch lying on your hook.
7th round - work BLSC to end.
8th, 14th, and 20th rounds = 2nd round.
9th, 10th, 12th, 13th, 15th, 16th, 18th, & 19th rounds = 7th round.
11th and 17th rounds = 5th round.
Step 6
Decrease:
21st round - decrease one stitch every 3 chain stitches. To reduce one st. , create two loops in two following chain stitches from the hook and pull the yarn through those 3 sts . Continue BLSC for 3 chain sts then do the decrease again. Repeat the process until the end of the round.
22nd round - reduce one st every 2 chain sts.
23rd round - decrease one st every 1 chain sts.
24th round - work the decrease without any intervals until one stitch remains.
Cut the yarn and secure it inside of the mitten.
Step 7
Thumb:
Attach the yarn.
Work BLSC for 14 chain sts until you reach the desired length of the thumb.
Step 8
Decrease:
Work the decrease without any intervals until one st. left.
Cut the yarn, insert it inside of the mitten, and secure it.
Mittens crochet pattern

Comments
"This is very clearly going
"This is very clearly going to make a left hand mitten. How do I count the sts for the right thumb placement?
For the right mitten, you
For the right mitten, you need to make a thumb hole on the right side of the mitten. When you will be 15 chains before your starting point, work 6 additional chains to the existing base ch. Then insert your crochet hook into the 9th ch. before your starting point (or skip 6 chs), grab the yarn, and pull it through the stitch and the last st. that is lying on your hook (make a slip stitch). All the rest should remain the same. Happy crocheting!
I dont understand why you
I dont understand why you make 6 chains for a thumb hole for the right mitten, but 7 chains for the left one...
Hi Tasia,
Hi Tasia,
Yes, you did not understand. I worked BLSC to last 7sts (6th round); skipped the 6sts and made a slip stitch1 in the last chain of the round. Happy crocheting!
Hello! How do you adjust the
Hello! How do you adjust the count if you are making children mittens?
Hi Takia,
Hi Takia,
To adjust the mitten pattern to a kid's size, you need to work less rows for the cuff ribbing. Make as many ribbing rows as necessary to fit around the wrist. On the edge of the ribbing, pick up chains accordingly to the hand circumference. You need to measure it at the knuckles (a hand's widest part without the thumb). Happy crocheting!
Good evening, I'm beginner
Good evening, I'm beginner (only 3 hats done with crochet). Step 4-1st row gives me trouble. It's odd to guessing where to enter the crochet. I passed and repassed your video but what I do doesn't look as you do. It makes three times that I undo and redo.
Hi CassiopeeQc,
Hi CassiopeeQc,
When you finish your ribbing and join it, then pick up chains on the edge of the ribbing to work the main part of the mitten. Happy crochet!
I want to know how many
I want to know how many stitches should I do before to make the thumb hole
I want to know how many
I want to know how many stitches should I do before to make the thumb hole for the right mittens
Pages