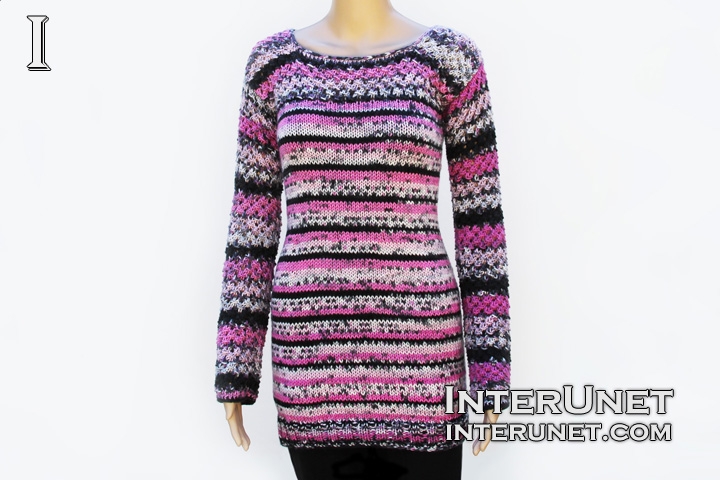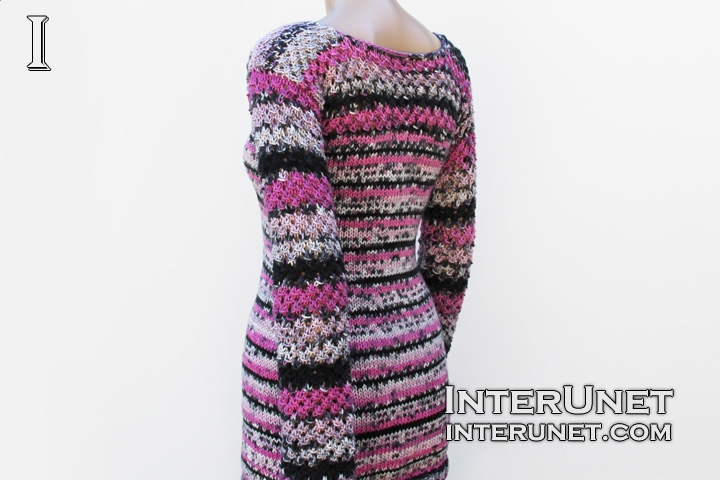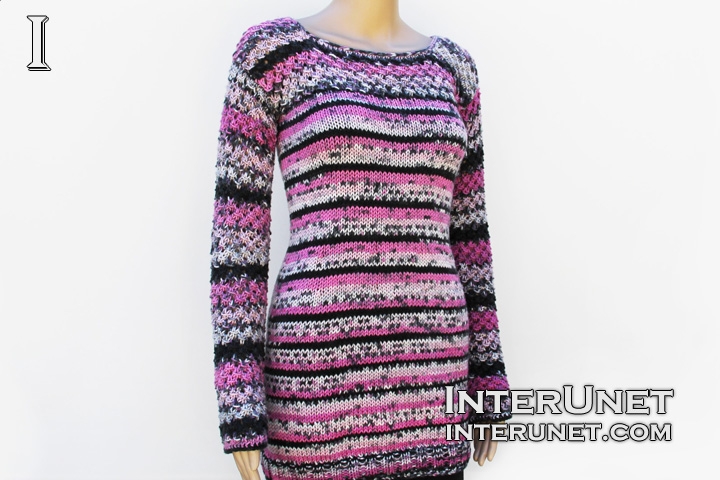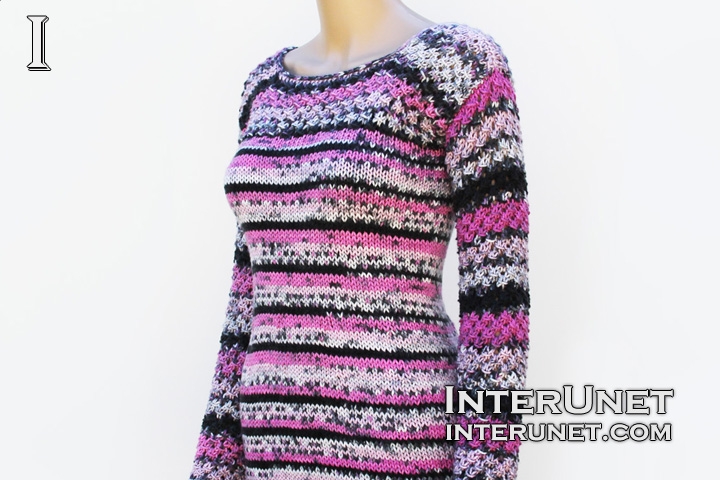
Yarn - Premier yarns Deborah Norville Collection EVERYDAY soft worsted (color – Parfait) / medium 4 / 3.5 oz (100 g) / 180 yds (165 m) / about 5 balls needed
Knitting Needles - Circular 16" and 29” Size 8 (5 mm), and one additional 29” circular needle or long safety pin or other size needles needed for the gauge
Gauge - About 15 knit stitches and 21 rows go into 4 inches (10 cm). Save time, check your gauge.
Sweater Size - XS/S
Complexity - Beginners friendly stitch

Women’s long-sleeve sweater knitting pattern for beginners
Step-by-step knitting instructions
Part 1 in the video tutorial
Begin knitting from the bottom to top.
Step 1
Body
Cast on 130 sts on two knitting needles to make the first loops bigger. Remove one needle and begin to knit in the round.
1st round – k to end
2 – 50 rounds = 1st round
Step 2
Decrease
51st round – [k2tog, k11] to end
After the round, you should have 120 sts left.
52 – 61 rounds = 1st round
62nd round – [k2tog, k10] to end
After the round, you should have 110 sts left.
63 – 87 rounds = 1st round
Step 3
Increase
88th round – [inc1, k10] to end
After the round, you should have 10 sts more or 120 sts in total.
89 – 108 rounds = 1st round
Step 4
Front part
Cell pattern
Use half of your stitches or 60 sts (multiples of 3 sts). Slide the other half of the sts or 60 sts on the other knitting needle, safety pin, or thread to work with them later.
1st row (right side) – sl.st.1, k1, [yo, dec1] to last 1 st; k1
2nd row (wrong side) – sl.st.1, p to end
3rd row – sl.st.1, [dec1, yo] to last 2 sts; k2
4th row = 2nd row
Repeat the pattern starting from the 1st row until you knit 16 rows in total.
Step 5
Shoulder piece
Use 18 sts or multiples of 3 sts
17th row (right side) = 1st row
18th row = 2nd row
19th row = 3rd row
20th row = 4th row
Repeat the 4 rows of the pattern until you knit 16 rows in total.
Cast off all the 18 sts.

Part 2 in the video tutorial
Step 6
For the 2nd shoulder piece, attach the yarn 18 sts before the end of the 16th row and work the 4 rows of the cell pattern until you knit 16 rows in total.
In order not to cut the yarn, you may work sl.sts down from the last row of the first front shoulder part to 16th row of the front part, then knit stitches to last 18 sts of the row and begin to work the 2nd front shoulder part.
Cast off all the 18 sts.
Step 7
Back part
Attach the yarn, use other half of your sts or 60 sts, and work the 4 rows of the Cell pattern (Step 4) until you knit 20 long rows. Then repeat steps 5 and 6 to work two back shoulder parts.
Step 8
Join shoulder pieces together.
You may join using a sewing needle or crochet hook.
Step 9
Sleeves
Cast on 36 sts or multiples of 3 sts.
Knit without increasing sts.
1st row (right side) – k to end
2nd row – sl.st.1, p to end
3rd row = 1st row (Step 4)
4th row = 2nd row (Step 4)
5th row = 3rd row (Step 4)
6th row = 4th row (Step 4)
Repeat the pattern starting from the 3rd row until you knit to your elbow. Work your last row as your 4th row or 2nd row (Step 4).
Step 10
Increase
To widen the sleeve, it is necessary to increase 3 sts to work one more repeat. For that, begin your following row as your 5th row or 3rd row (Step 4), but add one extra loop at the very beginning of the row and one more loop at the very end of the row.
51st row – sl.st.1, yo, [dec1, yo] to last 2 sts; k1, yo, k1
52nd row – sl.st.1, p to last 1st; yo, p1
53rd row = 3rd row (Step 4)
54th row = 4th row (Step 4)
55th row = 1st row (Step 4)
56th row = 2nd row (Step 4)
Repeat the Cell pattern starting from the 53rd row until you knit about 40 more rows.
93rd row = 51st row
94th row = 52nd row
Repeat the 4 row of the Cell pattern until you reach the desired length of the sleeve.
Step 11
Finish up
Join sleeves into the garment and sleeve sides. For that, you may use a sewing needle or crochet hook.
For the neckline, pick up sts on shoulder pieces and knit front and back part unused sts.
1st round – k to end
Cast off all the sts. Secure the yarn from the wrong side of the garment.
For the bottom ribbing, pick up 132 sts or multiples of 4 sts.
1st and all other rounds – [k2, p2] to end
Cast off all the 132 sts and secure the tail of the yarn.

Abbreviations
dec – decrease – k3, then pull the last 2 knit sts through the 1st one. After the decrease, you should have 2 loops/sts left on your working needle.
inc – increase – to increase one stitch, reuse a loop from the previous round and knit it. Then knit a regular stitch.
k – knit
k2tog – knit two stitches together
p – purl
sl.st. – slip a stitch -slide a st. from the left needle to the right/working needle without knitting it
yo – yarn over – make a loop around your working needle to increase one stitch
Two parts video tutorial for beginners how to knit long sweater

Comments
Thank you for the tutorial
Thank you for the tutorial the sweater is really pretty. May I ask if I needed a finished bust size of 42 inches what would I need to cast on.
Hi Tanyabeatty,
Hi Tanyabeatty,
The number of stitches to start with depends on your gauge/tension. I would advise you to knit a small sample, and then estimate how many stitches you need to your hip circumference accordingly. If you write me your gauge (how many V like sts go into about 4 inches), then I'll be able to help you with that. Happy knitting!