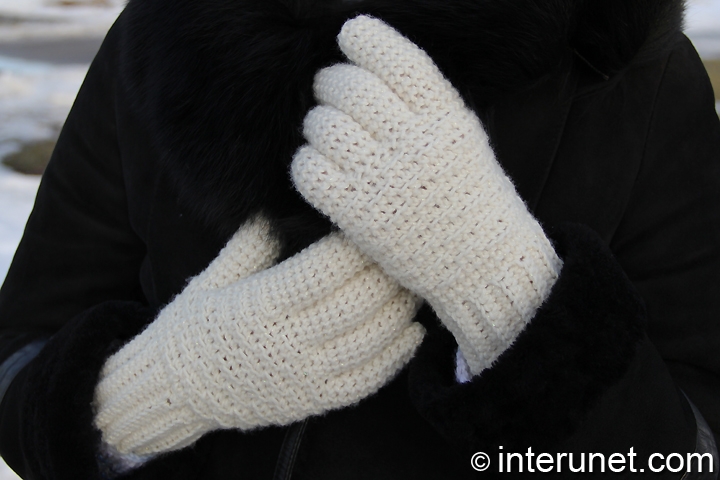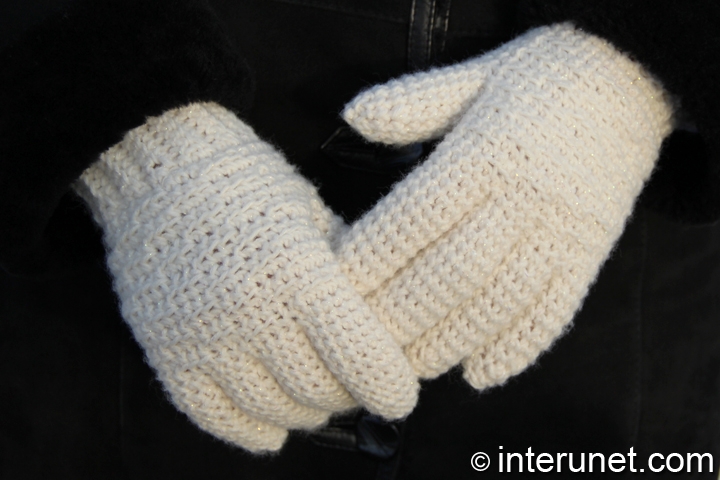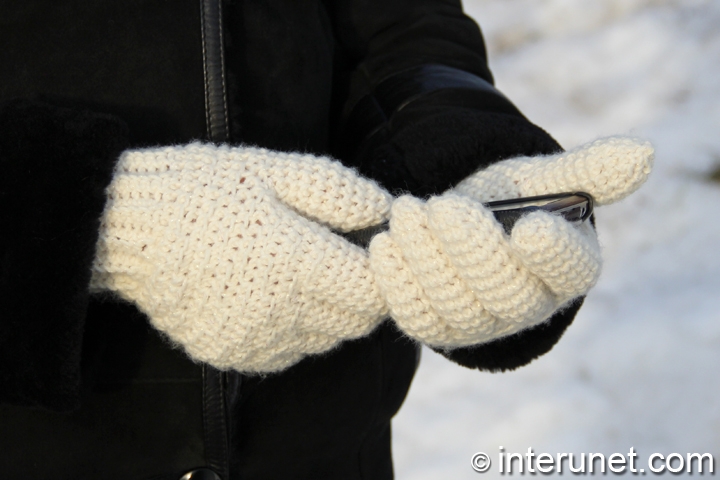
Yarn - Red Heart Shimmer / worsted - medium 4 / Net Weight - 100 g/ 280 yds (256 m) / 1/2 ball needed
Hook - US F (3.75 mm)
Hand Circumference - 7.9 inches (20 cm)
Complexity - Intermediate

Crochet women's gloves
Step-by-step crochet instructions
Step 1
Ribbing
Make a foundation chain of 14 chain stitches plus 1 returning chain.
Step 2
1st row – single crochet* to end plus one returning chain (RC).
*Single crochet (SC) – to do 1 SC, you need to insert a hook into the 2nd chain stitch from your hook, grab the yarn, and pull it through the base stitch resulting in having two loops on your hook. After that do yarn over (wrap the yarn over a hook) and pull it through the 2 sts.
2 – 23 rows – back loop single crochet to end and 1 RC.
24th row – back loop SC to end.
Step 3
Connect two ends of the ribbing together. To do so, insert the hook into the first stitch on the other end of the ribbing, grab the yarn, and pull it through the 2 stitches. Then insert your hook into the 2nd stitches of the both ends, yarn over, and pull it through the 3 stitches. Repeat the process to end of the row.
Step 4
Main part
Pick up 38 chain stitches while working single crochet to end of the round.
Step 5
1st round – front loop single crochet to end.
2nd round – [back loop SC 3, front loop SC 3] repeat that 3 times, continue front loop SC to end of the round.
3rd round – [front loop SC 3, back loop SC 3] repeat that 3 times, continue front loop SC to end.
4th and 6th rounds = 2nd round.
5th round = 3rd round.
7th round (left glove) = [front loop SC 3, back loop SC 3] repeat that 3 times, continue front loop SC to last 7 stitches, create 6 chain stitches. Then insert the hook into the very last stitch of the round, grab the yarn, and pull it through the stitch and the stitch which is lying on your hook.
7th round (right glove) = [front loop SC 3, back loop SC 3] repeat that 3 times, continue front loop SC to last 18 stitches and count 7 stitches from there to know where your end of the thumb hole is going to be. Then create 6 chain stitches and insert the hook into the 12th stitch before starting point. After that, grab the yarn and pull it through the stitch and the stitch that is lying on your hook.
8, 10, and 12 rounds = 2nd round.
9 and 11 rounds = 3rd round.
Step 6
Pinkie finger
13th round - [front loop SC 3, back loop SC 3] repeat that 3 times, continue front loop SC for 5 chain stitches then create 1 chain stitch. Count back 11 stitches from the hook and insert your hook into the last 11th stitch, grab the yarn, and pull it through the two stitches. After that continue crocheting in round for about 6 rounds or until you reach the desired length of your pinkie.
At the end, decrease stitches. To decrease one stitch, you need to insert a crochet hook into the 2nd chain from the hook, grab the yarn, and pull it through the stitch resulting in having 2 loops on your hook. Then insert the hook into the following chain st., grab the yarn, and pull it though again to have 3 loops on your crochet hook. After that do yarn over and pull the yarn through the 3 sts.
Step 7
Ring finger
Attach the yarn near the pinkie finger to crochet the ring finger. For the finger, use 4 chain stitches on one side working front loop single crochet then create 2 chain stitches, count 5 stitches on the other side from the pinkie, and insert the hook into the 5th stitch. After that, do yarn over and pull the yarn through the base stitch and the stitch that is lying on your hook.
Work front loop SC for 4 stitches then pick up 3 stitches from the pinkie side and continue crocheting in round until you reach the desired length of the ring finger. Decrease the stitches, cut the yarn, insert it inside of the glove, and secure the tail of the yarn.
Step 8
Middle finger
Attach the yarn near the ring finger. Use 5 stitches on this side, create 2 chain stitches, and count 4 stitches from the ring finger on the other side. Then insert the hook into the 4th base chain stitch, grab the yarn, and pull it through the stitch and the stitch that is lying on your hook.
Work front loop SC for 3 stitches and then pick up about 4 stitches from the ring finger side. Continue crocheting in round until you reach the desired length of the finger. Reduce the number of chain stitches, cut the yarn, and secure it from inside of the glove.
Step 9
Pointer finger
Attach the yarn near the middle finger. Work front loop single crochet for 10 stitches and pick up about 4 stitches from the middle finger side. Crochet in round until you reach the desired length of your pointer finger. Decrease stitches, cut the yarn, and secure it.
Step 10
Thumb finger
Attach the yarn. Pick up 15 stitches and work front loop SC until you reach the desired length of your thumb. Reduce the stitches, cut the yarn, and secure it from the inside of the thumb.
Step 11
Hide the tail of the yarn (if any) which was your starting point marker.

Abbreviations
ch. – chain
dc – double crochet
rc – returning chain
sc – single crochet
sl.st. – slip stitch
Gloves crochet pattern

Comments
Glove
Glove
i am new crocheter and while
i am new crocheter and while using Thor video and written pattern i am totally confused on women's gloves. i am finished with left but no instructions for fingers of right glove. can you pls pls help me, these are for my mom's birthday. Tia
i watched video and looked at
i watched video and looked at written instructions.
Please read step 5 (7th round
Please read step 5 (7th round). Happy crochet!
i watched video and looked at
i watched video and looked at written instructions and realized I hadn't gotten to end of video for right glove, sorry!!
My gloves! Thank you Sana for
My gloves! Thank you Sana for both the written instructions and the video! ♥♥♥
Hi Phoebe,
Hi Phoebe,
I love your adjustments to the pattern. It is a very good idea. Congratulations! Thank you for sharing your work with us. I appreciate it. Happy New Year!
Hi Phoebe