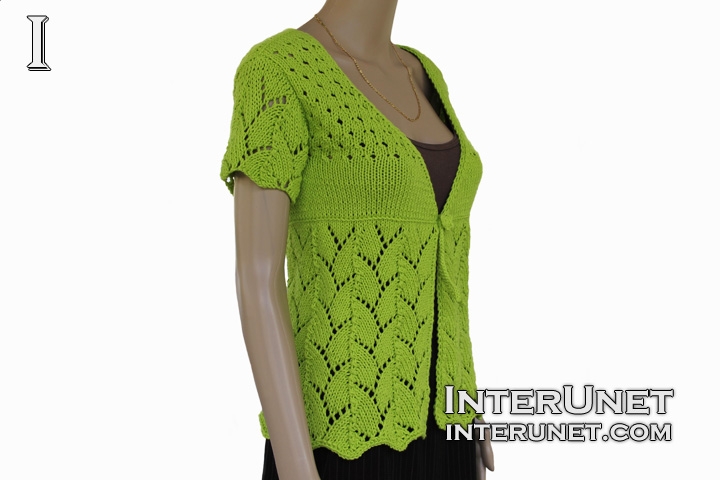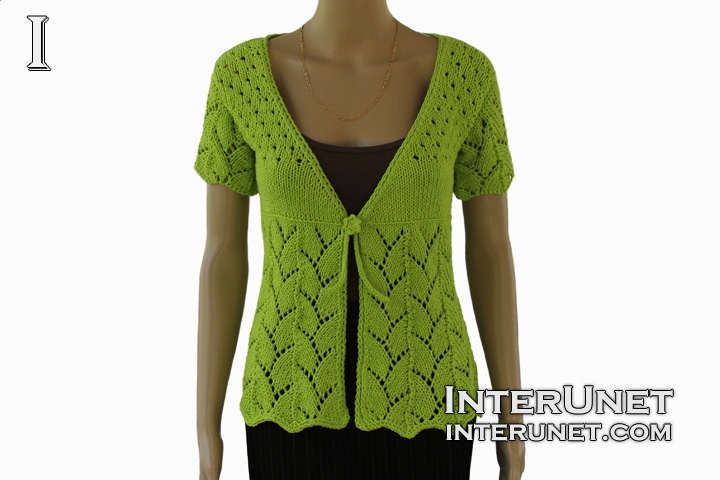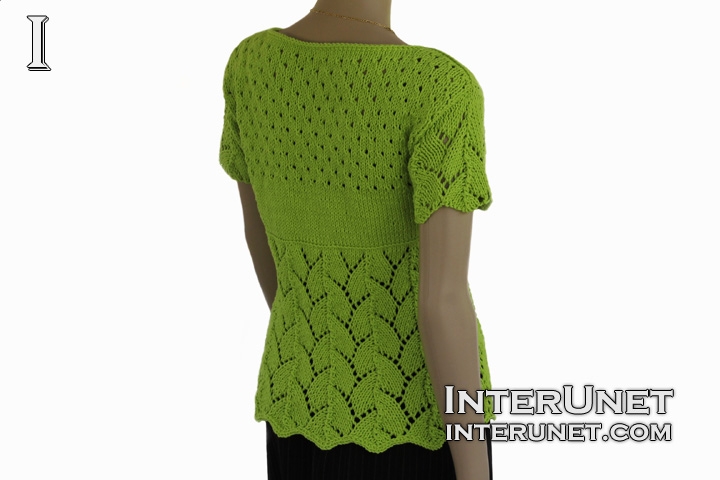
Yarn - Bernat Handicrafter (color: lively lime) / medium 4 / 12 oz (340 g) / 608 yards (556 m) / less than 1 ball needed
Knitting Needles - Circular 29" Size 5 (3.75 mm) and Size 8 (5.00 mm) or other size needles needed for the gauge
Gauge - About 16 stitches go into 4 inches
Cardigan Size - XS/S
Complexity - Intermediate / Advanced beginner

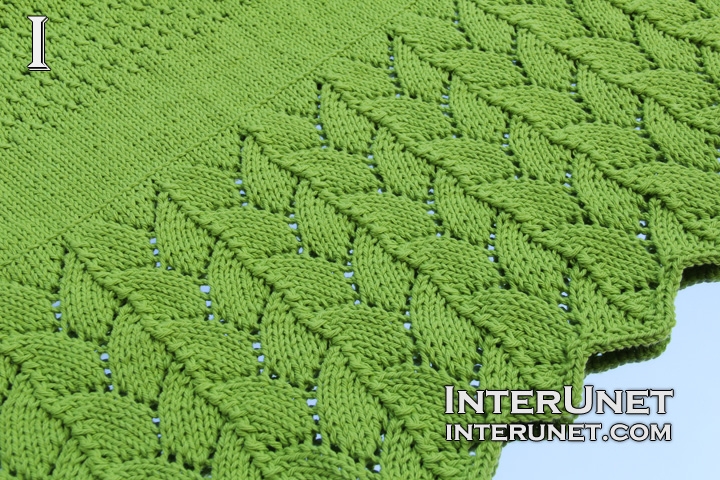
Women’s front tie short-sleeve cardigan sweater knitting pattern - multiple stitches combination
Step-by-step knitting instructions
Step 1
Cast on 146 stitches on two knitting needles to make first loops bigger or multiples of 11 stitches plus 3 additional stitches.
Step 2
1st row (right side) – sl.st.1, k2tog, k5, yo, k1, yo, k2, [k3tog, k5, yo, k1, yo, k2] to last 3 sts; k2tog, k1
2nd row and all even rows (wrong side) – sl.st.1, p to end
3rd row – sl.st.1, k2tog, k4, yo, k3, yo, k1, [k3tog, k4, yo, k3, yo, k1] to last 3 sts; k2tog, k1
5th row – sl.st.1, k2tog, k3, yo, k5, yo, [k3tog, k3, yo, k5, yo] to last 3 sts; k2tog, k1
7th row – sl.st.1, k2tog, k2, yo, k1, yo, k5, [k3tog, k2, yo, k1, yo, k5] to last 3 sts; k2tog, k1
9th row – sl.st.1, k2tog, k1, yo, k3, yo, k4, [k3tog, k1, yo, k3, yo, k4] to last 3 sts; k2tog, k1
11th row – sl.st.1, k2tog, yo, k5, yo, k3, [k3tog, yo, k5, yo, k3] to last 3 sts; k2tog, k1
Repeat the pattern starting from the 1st row using smaller size knitting needles until you knit the desired length under bust.
Step 3
61st row (right side) – sl.st.1, k to end
62nd row – cast off all the stitches
63rd row – make a chain, insert a needle into the second chain from the needle, and pick up 145 stitches to have 146 sts in total.
64th row – sl.st.1, p to end
Step 4
Decrease 2 stitches in one row every other row
65th row – sl.st.1, k2tog, k to last 3 sts; k2tog, k1
66th row – sl.st.1, p to end
Alternate the 65 and 66 rows until you knit 18 rows in total and decrease 18 stitches. You should have 128 sts left.
Step 5
First front part
Slide 27 stitches on the other knitting needle or other number dividable by 4 plus 3.
Decrease
1st row (right side) – sl.st.1, k2tog, k1, [yo, k2tog, k2] to last 3 sts; yo, k2tog, k1
2nd and all even rows – sl.st.1, p to end
3rd row – sl.st.1, k2tog, k to end
5th row – sl.st.1, k2tog, k1, [yo, k2tog, k2] to last 1st; k1
7th row = 3rd row
Repeat the pattern starting from the 1st row. Decrease stitches until you have 15 stitches left or any other number dividable by 3.
Work the pattern without decreasing stitches
25th row (right side) – sl.st.1, k3, [yo, k2tog, k2] to last 3 sts; yo, k2tog, k1
27th row – sl.st.1, k to end
29th row – sl.st.1, k1, [yo, k2tog, k2] to last 1st; k1
31st row = 27th row
Repeat the pattern starting from the 25th row until you knit 44 rows in total.
Cast off all the stitches. Cut the yarn and secure it.
Step 6
Second front part
Work like a mirror reflection to the first front part
Slide on the other needle 28 stitches or multiples of 4.
1st row – k2tog, [yo, k2tog, k2] to last 6 sts; yo, (k2tog, k1)x 2
2nd and all even rows – sl.st.1, p to end
3rd row – sl.st.1, k to last 3 sts; k2tog, k1
5th row – sl.st.1, [k2, yo, k2tog] to last 4 sts; k1, k2tog, k1
7th row = 3rd row
9th row – sl.st.1, [yo, k2tog, k2] to last 6 sts; yo, (k2tog, k1)x 2
Repeat the pattern starting from the 3rd row until you have 15 stitches left.
Continue knitting the pattern without decreasing sts
25th row – sl.st.1, [yo, k2tog, k2] to last 2 sts; k2
27th row = sl.st.1, k to end
29th row – sl.st.1, [k2, yo, k2tog] to last 2 sts; k2
31st row = 27th row
Repeat the pattern starting from the 25th row until you knit 44 rows in total.
Cast off all the stitches.
Step 7
Back part
Use 73 stitches or all the remaining stitches.
Work the pattern without decreasing stitches
1st row (right side) – k2tog, k3, [yo, k2tog, k2] to last 3 sts; yo, k2tog, k1
3rd row – sl.st.1, k to end
5th row – sl.st.1, k1, [yo, k2tog, k2] to last 1st, k1
7th row = 3rd row
9th row – sl.st.1, k3, [yo, k2tog, k2] to last 3 sts; yo, k2tog, k1
Repeat the pattern starting from the 3rd row until you knit 44 rows in total.
Step 8
Back shoulder parts
Use 15 stitches or any number of stitches left for the front part
45th row (right side) – sl.st.1, k1, [yo, k2tog, k2] to last 1st; k1
46th row (wrong side) – sl.st.1, p to end
Cast off all the 15 stitches
Step 9
Join the front and back shoulder parts together.
Step 10
Sleeves
Cast on 47 stitches to work 4 repeats of the pattern.
Work rows the same as in step 2, but after the first repeat use larger size knitting needles until you knit the desired length of the sleeves.
Join sleeves into the garment. You may saw them or use a crochet hook. Then join the sleeve sides together. Cut the yarn and secure it.
Step 11
Edges
Pick up stitches and then cast off them or work single crochet all the way around.
Ties
Use a crochet hook and make 32 chains. Then work slip stitch into the 2nd chain and all the way across. Attach a flower to one tie (optional).

Abbreviations
k – knit
k2tog – knit two stitches together
k3tog – knit 3 sts together
p – purl
sl.st. – slip stitch
yo – yarn over

How to knit women's short-sleeve tie-front cardigan sweater

Comments
How would you make this as a
How would you make this as a large size ?
Hi Cmitch,
Hi Cmitch,
For the L size, I would cast on 168 stitches. Then decrease 18 stitches (step 4). For the back part work half of your initial total number of stitches or 84 sts. To know how many sts to work for each front part, subtract 18 sts from 84 sts (84 - 18 = 66 sts) and divide 66 sts by 2 to get 33 sts. For each sleeve cast on 58 sts or mult. of 11 +3 and repeat the pattern (step 2). Happy knitting!
I was just wondering if you
I was just wondering if you wet blocked this when finished? I've followed the instructions you've given for a large size and it still looks very small to me. If you did block it, do you have the dimensions? Thanks in advance :) this has been a challenging but beautiful pattern to work on.
Hi missymom5879,
Hi missymom5879,
To get the right size, it is necessary to learn your gauge first by knitting a small sample, and then estimate how many sts it is necessary to work to your chest circumference. Since you already know your gauge, decide whether the bottom part (up to the under bust) is wide enough for you or not. If yes, then to widen the top part, you may increase sts underarms or from sides of the cardigan (step 4). So, you will decrease sts at the very beginning and ending of rows and increasing sts underarms. However, before doing that, it is necessary to do a proper planning. First do a gauge swatch and then decide how many sts you need to increase to get the right size. If you write me your gauge and chest circumference, I'll try to help you out. Happy knitting!
I'm about to start step 5 but
I'm about to start step 5 but am confused how when you slipped the stiches on the other needle how you're tail of yarn was there to start the front part. If you slipped the stitches wouldn't your tail of yarn still be at the end of the row and not where you are starting the front part on the 28th stitch? How did you get the tail of yarn in the middle to start knitting at the 28th stitch? Thank you!
Hi helovesme,
Hi helovesme,
Thank you for the good question. In the video (14:32), you may see that I've knitted my first front part (step 5) and started to show how to knit the second one (step 6) as a mirror reflection to the first part. Use the written instruction to knit the first front part, and then attach the yarn to work the second front part. Happy knitting!
Hello Sana, I really love
Hello Sana, I really love this cardigan and it is my first real project besides scarfs:) I started with 157 stitches, and I'm not sure how many stitches do I need in step 5 for the front parts. Could you please help me out? Thank you so much!
Hi ivetaboykin,
Hi ivetaboykin,
You may use 30 sts for the first front part, 31 sts for the 2nd front part, and all the remaining sts for the back part. Happy knitting!
so, I did the front parts and
so, I did the front parts and wanted to do 30 and 31 stitches, but the pattern wouldn't work. I then used 31 and 32 and that worked. Unfortunately, I will have to take it apart, because the top part is very small. The bottom part would work, but from the line across, it i narrow and also very short. Since this is my first real project besides scarfs, I'm not sure I will be able to figure it out where to make it bigger and how:(
Hi ivetaboykin,
Hi ivetaboykin,
I would be glad to help you out, but I need to know more details. Send me a picture of your top part that will give me some ideas how to fix it.
Pages