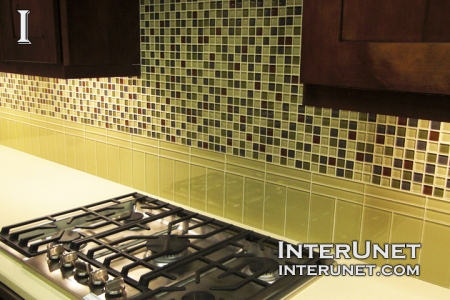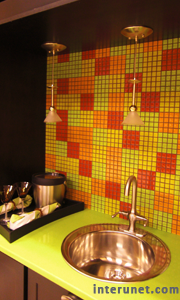
Tile is very durable and reliable construction materials that are used for backsplash tiling and for some other purposes for many years. It deserved its trust and respect from many homeowners. Usually very popular are glass, mosaic, porcelain, ceramic and stone backsplash tiles. The backsplash materials are used for many years, but it is still remain unique and desired because there are so many different styles, colors, patterns and shapes of it.
If you plan to do the tiling project on your own then it is better to get comfortable with the process before even making your further final decision. This process is not that complicated if there won’t be any mistakes or high work complexity. If you do run into any issues you might not be able to fix it on your own and you eventually have to ask for help which may be not time or cost efficient. In many cases contractors charge more for fixing the problem than they would for the installation.
Step-by-step instruction
Step #1
Take a note book write down there all necessary measurements that you did of the area that needs to be covered. You should write everything there that is related at least somehow with the project. That way you won’t forget or lose anything.
Step #2
Choose and purchase tile you like accordingly to your measurements. You can find out how many tiles you need for that project by reading the article “How many tiles do I need to get for one room?” It doesn’t really matter whether you will calculate tiles needed for the floor or wall areas. In addition, you should buy a wall tile adhesive and grout before actually beginning any tiling process.

Step #3
Once you have all necessary materials on hand, you can start the demolishing process. It is necessary to start the work from disconnection of the electric power on the kitchen and unscrew switchers and outlets if any you have in the area. Then you can remove everything what was previously on the backsplash.
Step #4
After that it is essential to fix and make the walls flat where needed. Normally it is necessary to do because all imperfections will be visible once you install tile on the wall especially if you choose to go with the thin type of tile. It might be a good idea to purchase or rent a level for getting an idea whether countertop and wall cabinets are in level.
Step #5
When your walls are ready for tile to be installed, you should cover your kitchen countertop with some paper or cloth in order not to damage it. It is not only recommended by highly required to read manufacturers instruction and apply the wall tile adhesive accordingly. Then start to put each tile very carefully on the wall. It is better to start the work form the corner or from the middle of the room where is the most visible part.
Step #6
Next day after all tiles are laid, you should apply grout. Then with the sponge you can clean the tile and enjoy you brand new kitchen backsplash. Stone tile and grout require sealer application not only completing the work, but periodically as regular tile maintenance procedure.
